Pumpkin pie is more than just a dessert; it’s a cherished symbol of comfort, celebration, and everything we love about fall. From cozy family dinners to festive holiday feasts, it’s impossible to imagine a perfect autumn without this iconic treat gracing the table. But why settle for store-bought when you can create a homemade pumpkin pie that’s bursting with flavor, with all the love and care baked right in?
This guide will take you step-by-step through everything you need to know to bake a pumpkin pie that’ll impress your family, guests, and even yourself. Whether you’re a seasoned baker or trying your hand at pie-making for the first time, you’re in the right place!
Ingredients and Tools You’ll Need
Before you get started, make sure you’ve got everything ready to create the perfect pumpkin pie. Prepping in advance saves time and ensures you don’t hit any roadblocks as you bake.
Ingredients
Here’s what you’ll need to make a classic pumpkin pie that’s rich, creamy, and perfectly spiced:
- For the Crust
- 1 ¼ cups all-purpose flour
- ½ tsp salt
- ½ cup cold unsalted butter, cubed
- 3–4 tbsp ice water
- For the Filling
- 1 can (15 oz) pumpkin puree (not pumpkin pie filling)
- ¾ cup granulated sugar
- ½ cup brown sugar
- 2 large eggs + 1 egg yolk
- 1 cup heavy cream or evaporated milk
- 1 tsp vanilla extract
- 2 tsp ground cinnamon
- 1 tsp ground ginger
- ¼ tsp ground nutmeg
- ¼ tsp ground cloves
- Pinch of salt
Tools and Equipment
- 9-inch pie dish
- Mixing bowls
- Pastry cutter (or food processor)
- Rolling pin
- Whisk
- Measuring cups and spoons
- Cooling rack
Step-by-Step Pumpkin Pie Recipe
Making pumpkin pie at home is easier than you might think. Follow these detailed steps, and soon your entire kitchen will smell like a warm autumn hug!
Step 1 Prepare the Crust
- Mix the flour and salt in a mixing bowl.
- Cut in cold butter using a pastry cutter or food processor until the mixture resembles coarse crumbs.
- Gradually add ice water, one tablespoon at a time, until the dough comes together.
- Form the dough into a disc, wrap it in plastic, and chill for at least 30 minutes.
Step 2 Make the Pumpkin Filling
- Preheat your oven to 375°F (190°C).
- Combine the pumpkin puree, sugar, and brown sugar in a large mixing bowl.
- Add the eggs, yolk, heavy cream, vanilla, and spices. Whisk everything together until smooth and creamy.
Step 3 Assemble the Pie
- Roll out the chilled dough on a floured surface to fit your 9-inch pie dish. Carefully transfer it into the dish and trim the edges, leaving about ½ inch overhang.
- Crimp the pie crust edges for a decorative touch or keep it simple.
- Pour the pumpkin filling into your prepared crust, smoothing it out evenly.
Step 4 Bake the Pie
- Bake the pie in the preheated oven for 50–60 minutes. The edges should be set, and the center should still have a slight jiggle (it will set as it cools).
- Check the pie about 30 minutes into baking. If the edges of the crust are browning too quickly, cover them with aluminum foil or a pie shield.
Step 5 Cool and Set
- Once baked, remove the pie from the oven and place it on a cooling rack. Allow it to cool completely, which usually takes about 2–3 hours.
- For best results, refrigerate the pie for at least an hour before serving.
Tips and Tricks for Pumpkin Pie Perfection
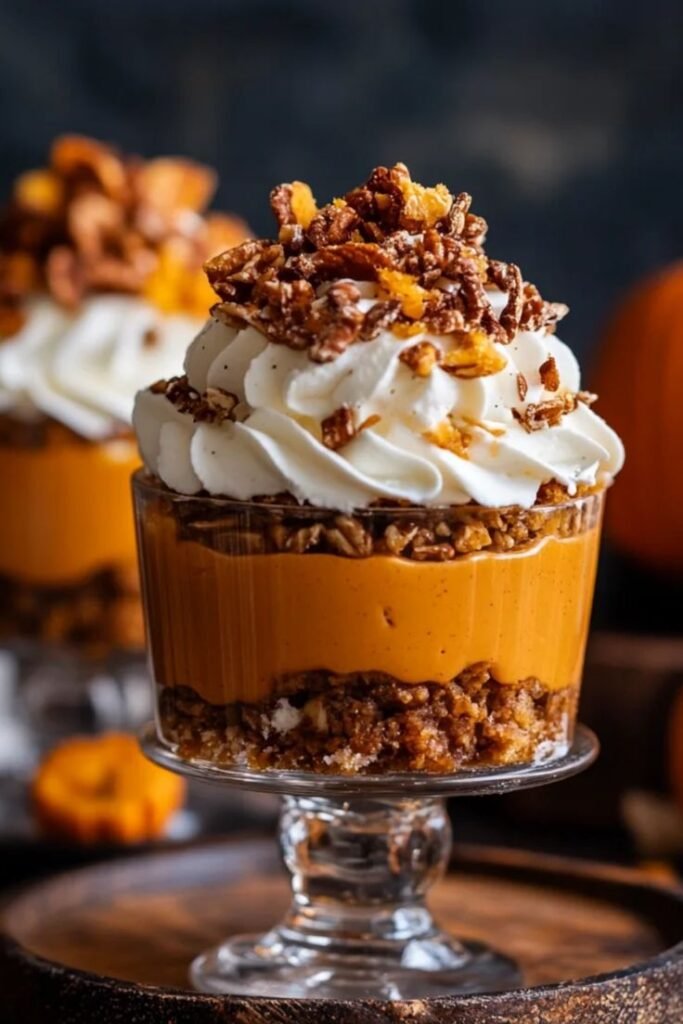
Even the best recipes can benefit from a few pro tips. Here’s how to ensure your pumpkin pie is flawless every time.
Achieving the Perfect Texture
- Use high-quality pumpkin puree for the best consistency and flavor. Libby’s is a popular choice among bakers.
- Avoid overmixing the filling; too much air can cause cracks during baking.
Preventing Cracks
- Bake the pie at a consistent temperature and avoid opening the oven door too often. A sudden change in temperature can lead to cracking.
- If cracks do form, don’t panic! A dollop of whipped cream can easily save the day.
Flavor Variations
- Add a splash of maple syrup to the filling for a hint of natural sweetness.
- If you enjoy bold flavors, try experimenting with chai spices or cardamom.
Dietary Adaptations
- Gluten-Free: Use a gluten-free flour blend to make the crust.
- Dairy-Free: Replace heavy cream with coconut cream or a non-dairy milk alternative.
Serving and Storing Your Pumpkin Pie
Once your masterpiece is complete, here’s how to serve and store it like a pro.
Serving Suggestions
- A generous dollop of whipped cream or a scoop of vanilla ice cream is the ultimate companion to a slice of pumpkin pie.
- Garnish with a sprinkle of cinnamon, nutmeg, or even candied pecans for a fancy touch.
Proper Storage Techniques
- Keep leftover pie refrigerated and covered with plastic wrap or aluminum foil. It will stay fresh for up to 3 days.
- For longer storage, wrap the pie tightly and freeze it for up to a month. Thaw in the refrigerator overnight before serving.
Why Everyone Loves Homemade Pumpkin Pie
There’s something magical about creating a pie from scratch. It’s more than just about the taste; it’s about the process, the memories made, and the joy of sharing a homemade treat with loved ones. Pumpkin pie is a true testament to comfort and tradition, and making it yourself adds a deeply personal touch to any celebration.
Feeling inspired? Make this heavenly pumpkin pie today! If you enjoyed it, tag us on Instagram with your photos, and share your baking story with other home bakers. Who knows? You might just inspire someone else to give homemade pumpkin pie a try!

